


We designed and installed a combined waterproofing system for our client’s new build garage in Nottingham to incorporate the following:
- Type A: Barrier Protection – external waterproofing
- Type C: Drained Protection – internal waterproofing
The NHBC imposed in January 2016 in their revised technical manual ‘Chapter 5.4’ the incorporation of a “dual system” (two waterproofing systems) into structures where a Structural Warranty is provided.
SPECIFICATION:
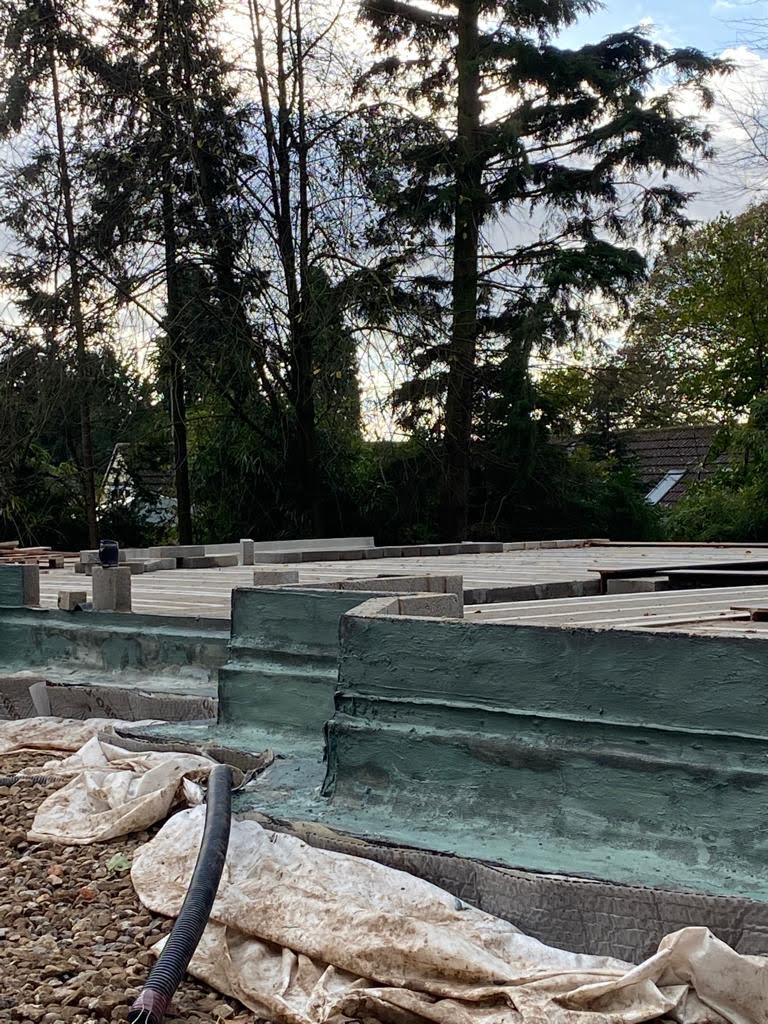
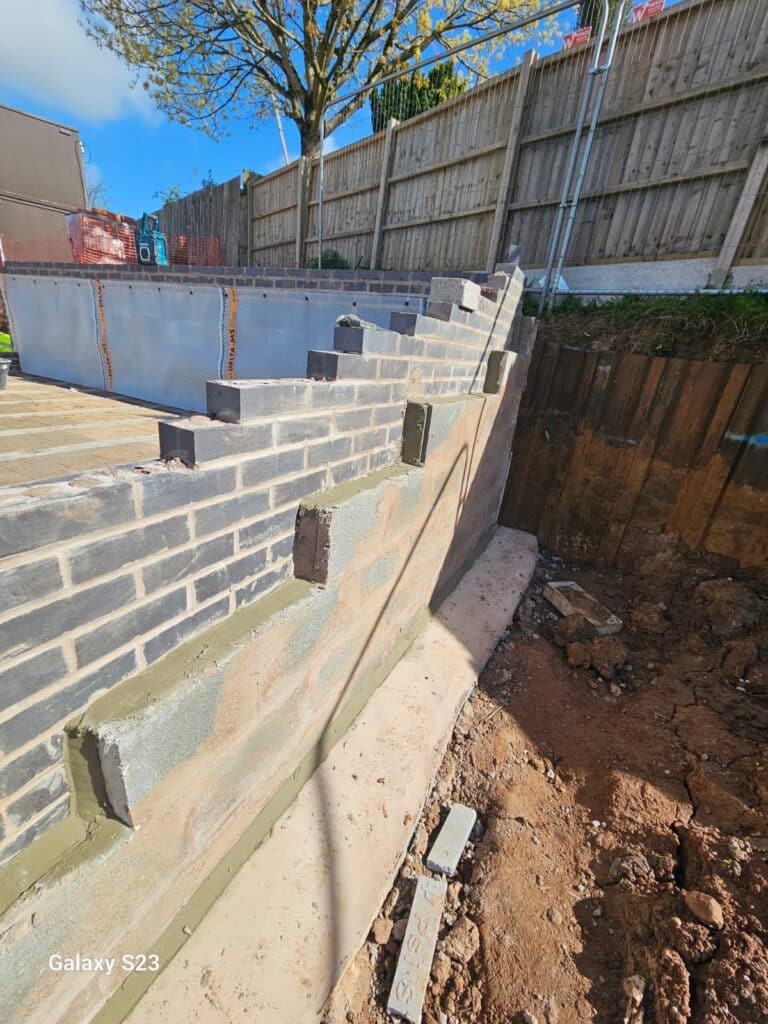
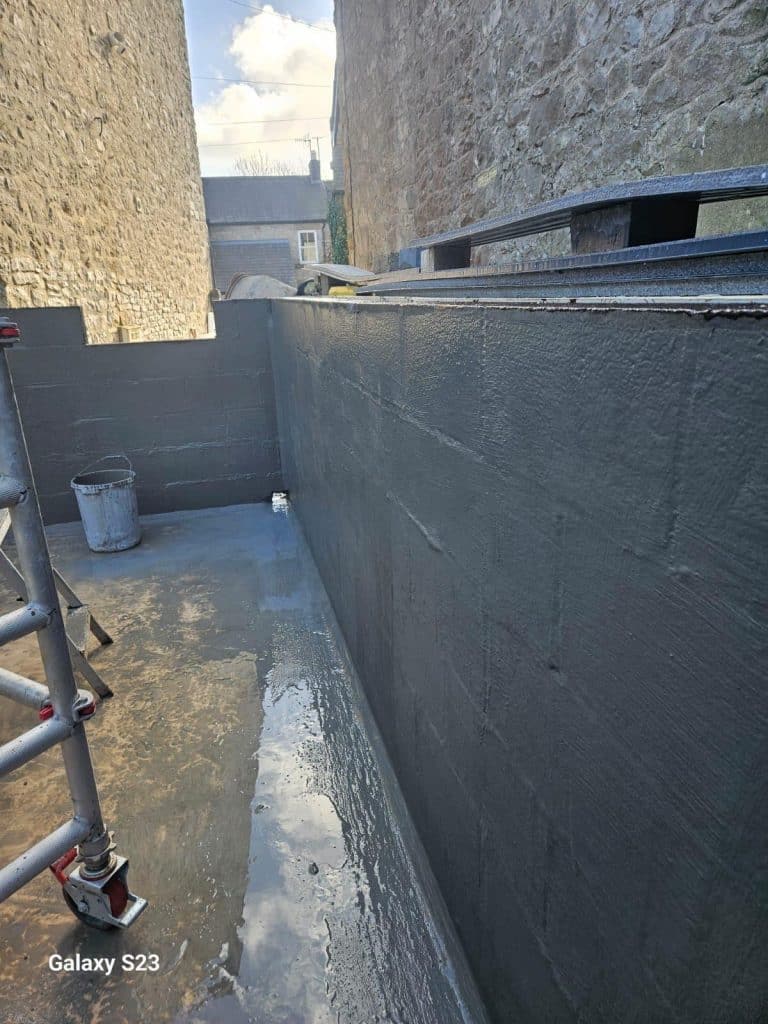
External: Type A (Barrier) Protection
External: Type A (Barrier) protection – A barrier to water ingress applied to the outer surface of the structure.
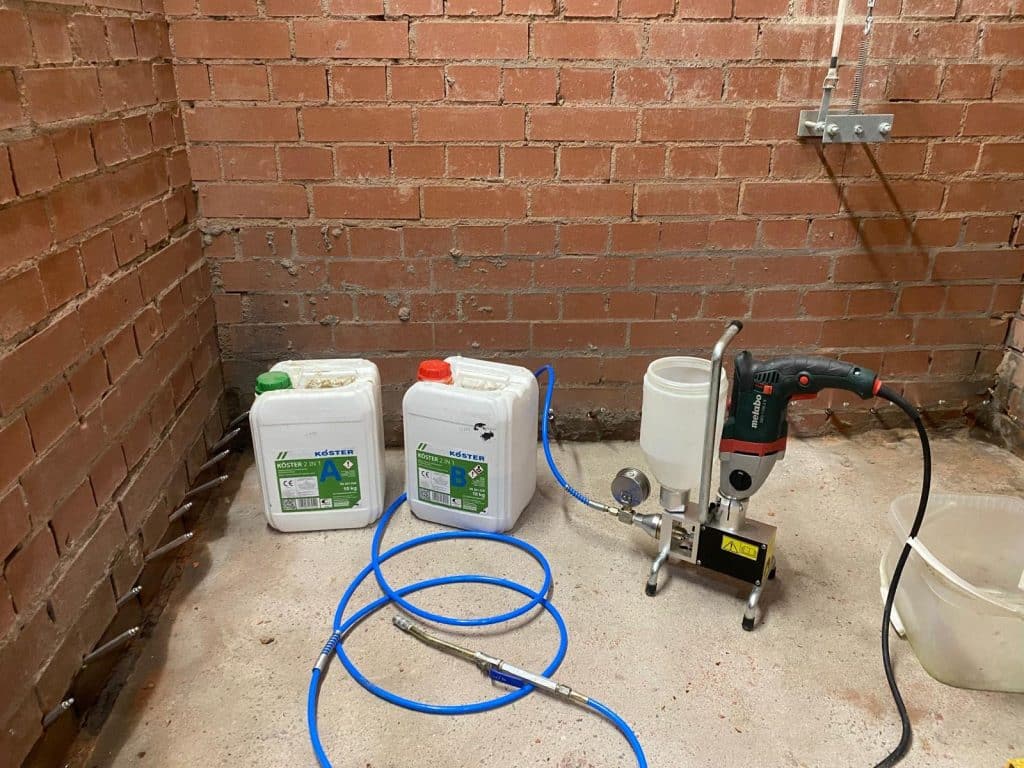
Primary resistance of the structure is provided by Koster bitumen-based waterproofing on the positive side:
- Install Delta dual proof pre-applied water proofing membrane prior to pouring the concrete slab
This is a fully and permanently bonded, composite sheet that does not only waterproof but protects against gases and chemicals. Suitable substrate: concrete blinding, compact hard-core and compact sand.
- Install a serviceable drain positioned below the slab level and run around the perimeter of the retaining walls whenever practicable as a method of risk reduction.
All concrete dressed with anti-lime coatings.
Form a 50mm fillet along the foundation toe using repair mortar. This helps shed water away from the structure.
- Apply two coats of Koster Deuxan-2C polymer modified thick bitumen compound at 6kg/m².
- Once the Deuxan has cured (following day depending on air temperature), mechanically fix Delta-GeoDrain Quattro membrane, with joints overlapped and sealed.
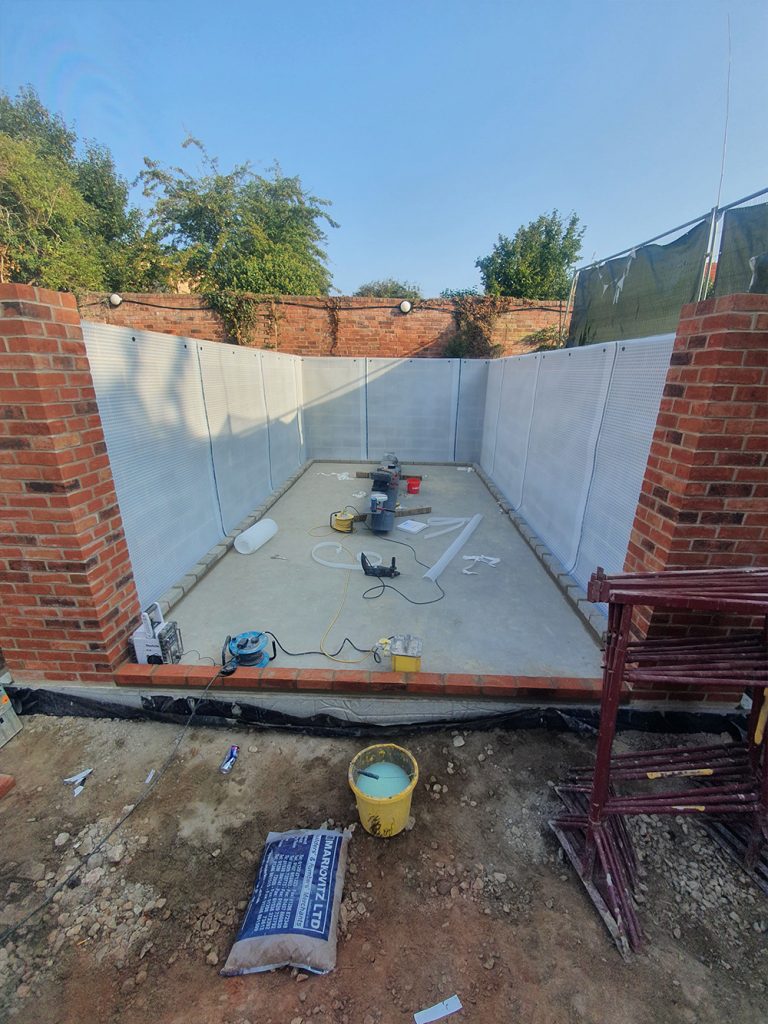
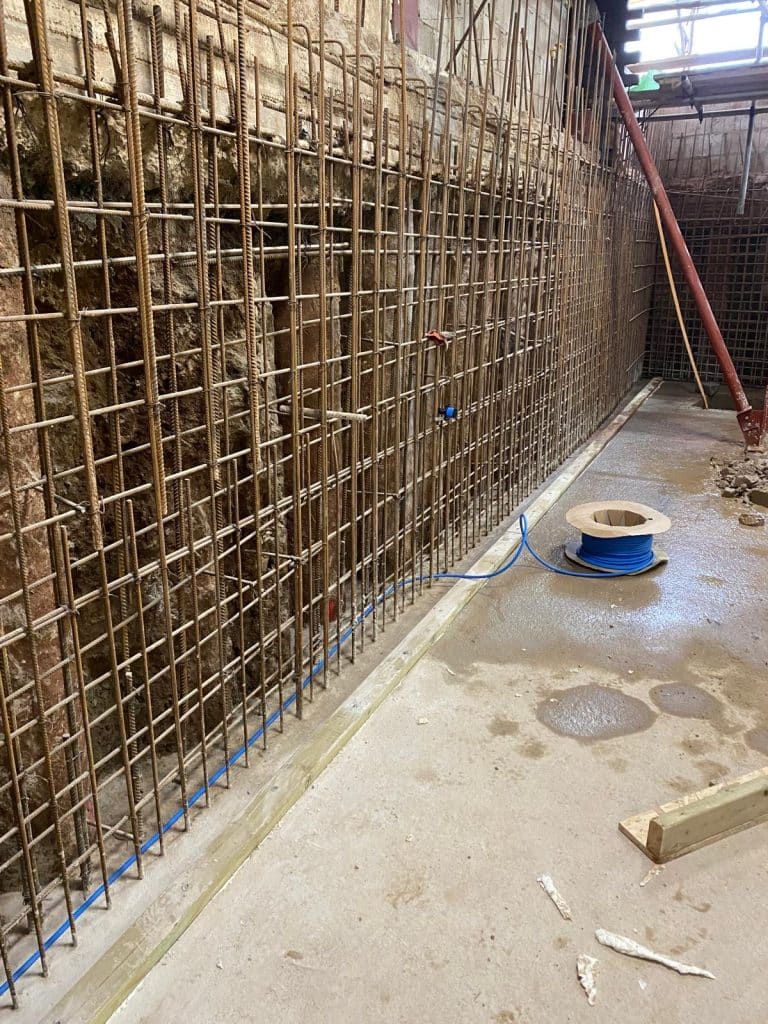
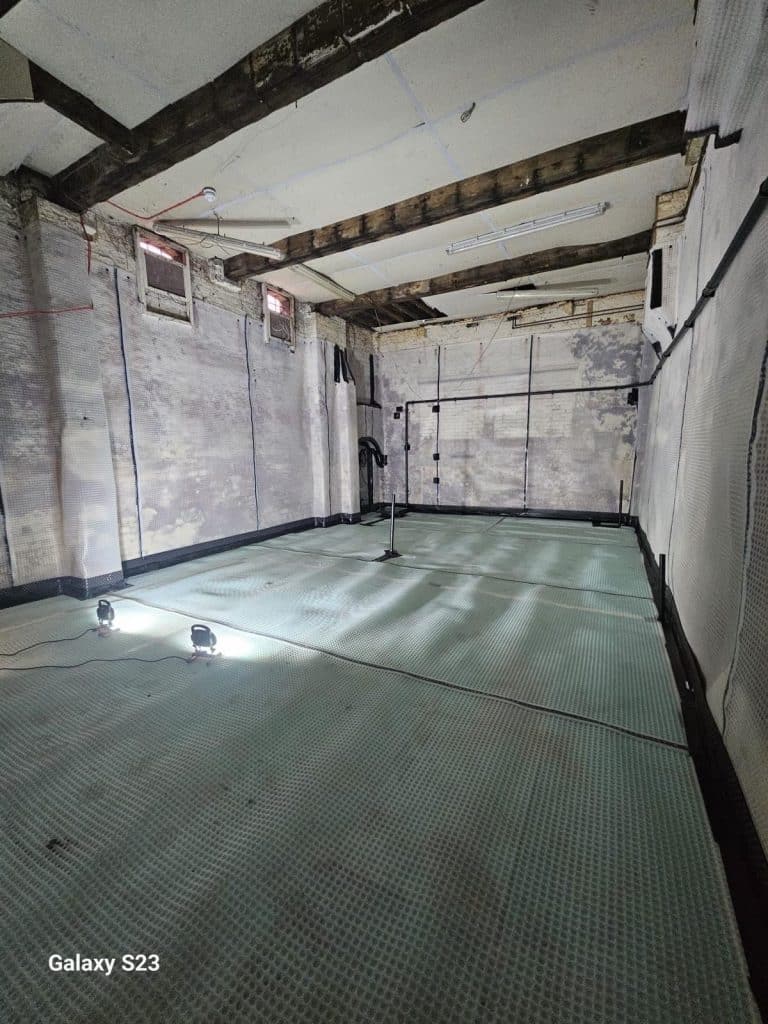
Internal: Type C (Drained) Protection
Internal: Type C (Drained) protection – Internal bunded channel
Secondary protection, which manages any water ingress which occurs as a consequence of an installation defect in the external membrane, is provided by a cavity drain membrane system:
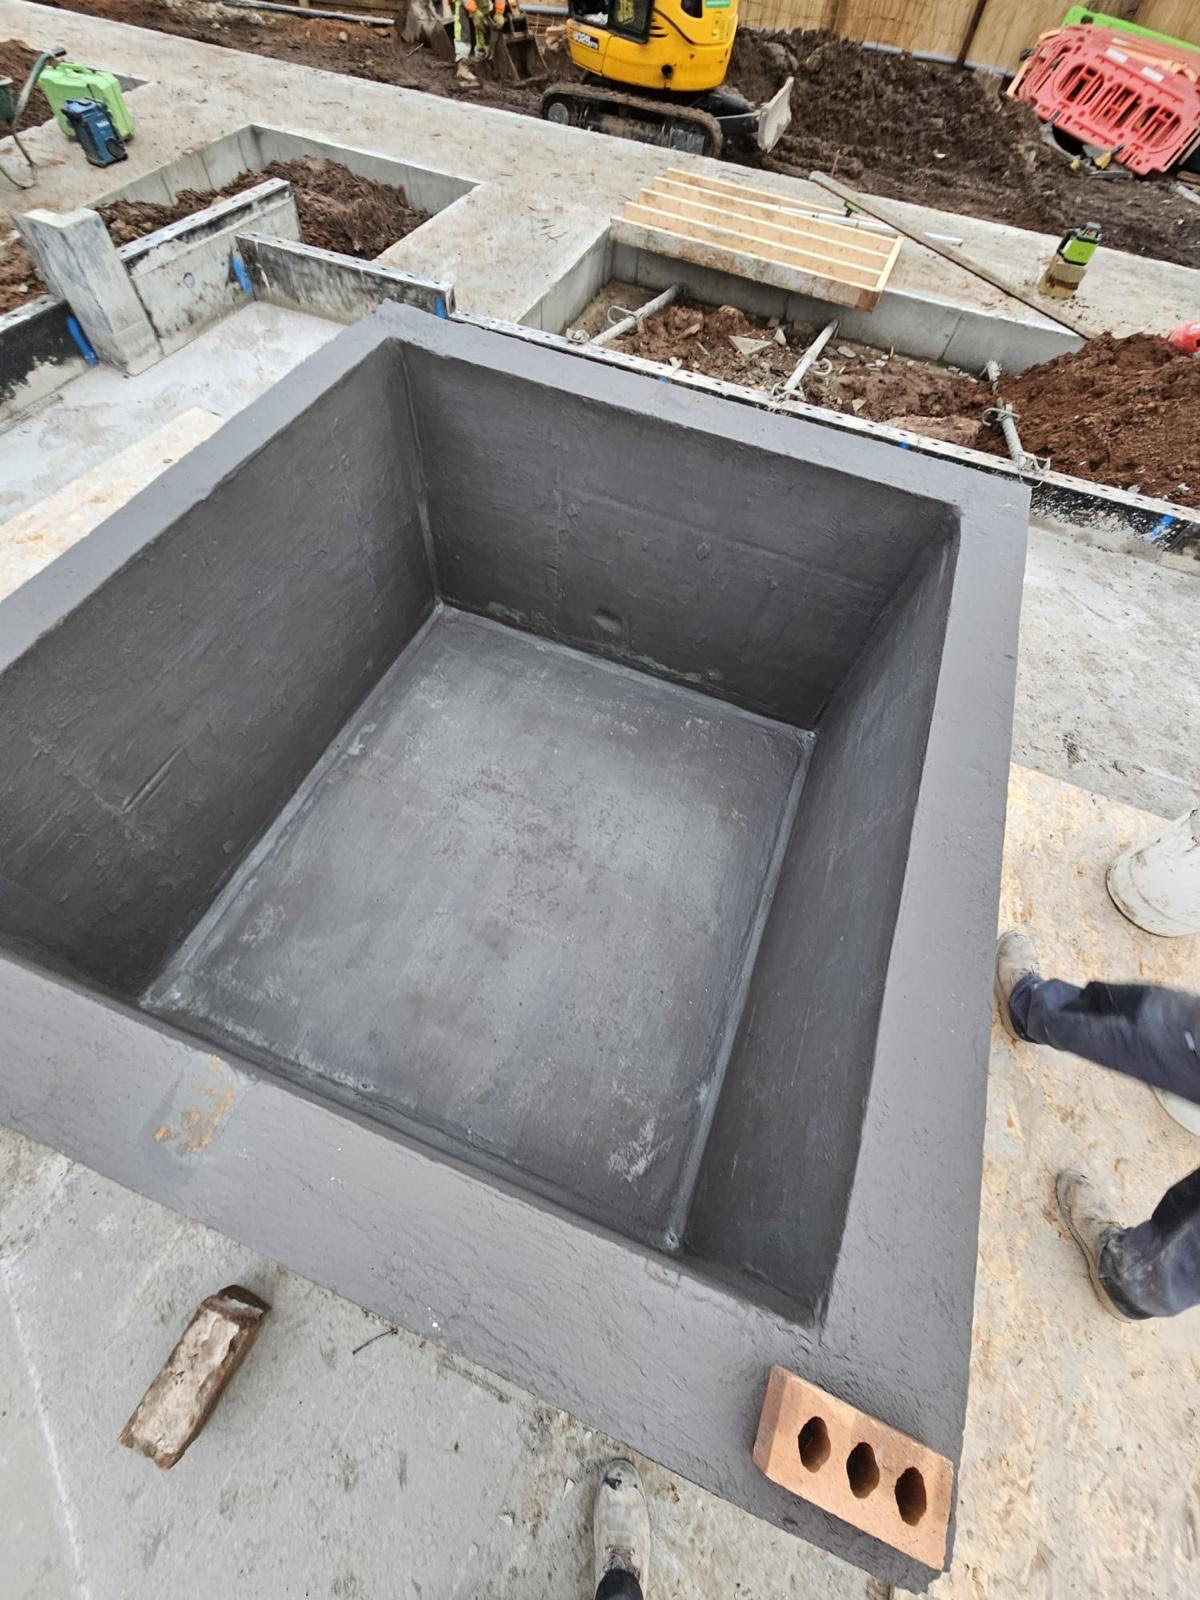
- Excavate a hole within the floor ready for the sump chamber.
- Install a dual pump station designed to collect ground water.
Mechanically fix 8mm membrane to the external brick cavity side. Wrapping around past the corner junction on the front end of the property, apply and seal using liquid membrane taping the finishing joint.
· Installation of 80mm drainage channel. This must be level and connected to the sump chamber and include the installation of rodding points at corners.
- i) DPC taped to the floor membrane with Water Seal Tape.
- ii) Take the DPC across onto the top of the drainage channel within the cavity.
- All concrete dressed with anti-lime coatings.
- Install a 20mm floor membrane over the reinforced concrete, in conjunction with cornerstrip. 20mm floor membrane covered with a minimum of 75mm cement screed.
- If insulating in front of the wall membrane leave a 10mm gap to prevent interstitial condensation.
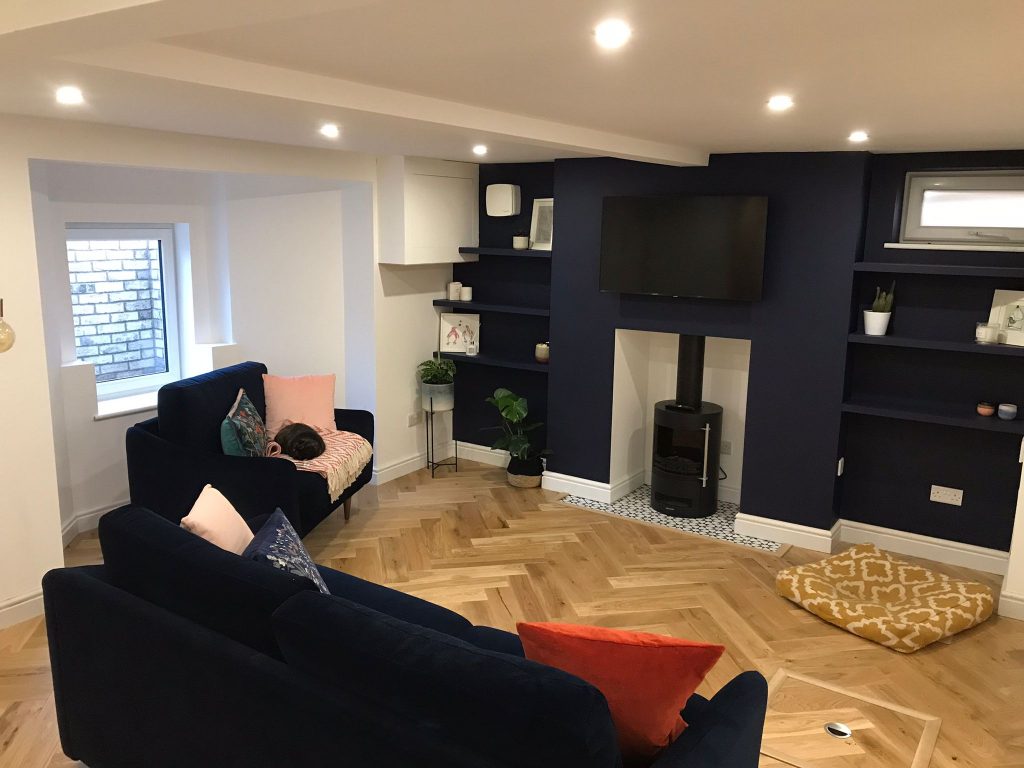
Opting for Damptec for your new build basement requirements in Nottingham, means you’ll receive expertly managed projects with strong and trustworthy waterproofing solutions.
Contact us today for more information and to discuss your project requirements.


